
Oracle Integration is an integration solution that simplifies connectivity between applications. It has 4 main components:
- Integration –> this is the one we will look at
- Process
- Visual Builder
- Insights
Oracle Integration Cloud comes with a library of adapters for both Oracle and 3rd Party applications. All of these capabilities mean that it’s possible to integrate applications faster and increase business agility. In this post I will look at how you can use Oracle Integration Cloud’s capabilities to connect to UiPath across in Oracle Integration generation 2. (future post coming for this same subject area on Oracle Integration Generation 3).
Note 1 – Given the regular release schedule present in Oracle Cloud, it is possible that the screens may change somewhat beyond the writing of this post. If this happens, please comment on this post and I will try to help you out. (and update this post!
Oracle Integration (generation 2) has an out of the box connectivity adapter to connect to UiPath. Please note that the following steps assume that you have a UiPath instance with appropriate licenses, tenancy configuration and robots.
Configure UiPath Adapter
Follow these steps to configure the UiPath Adapter in Oracle integration (gen 2):
Step 1: Log into Oracle Integration Cloud
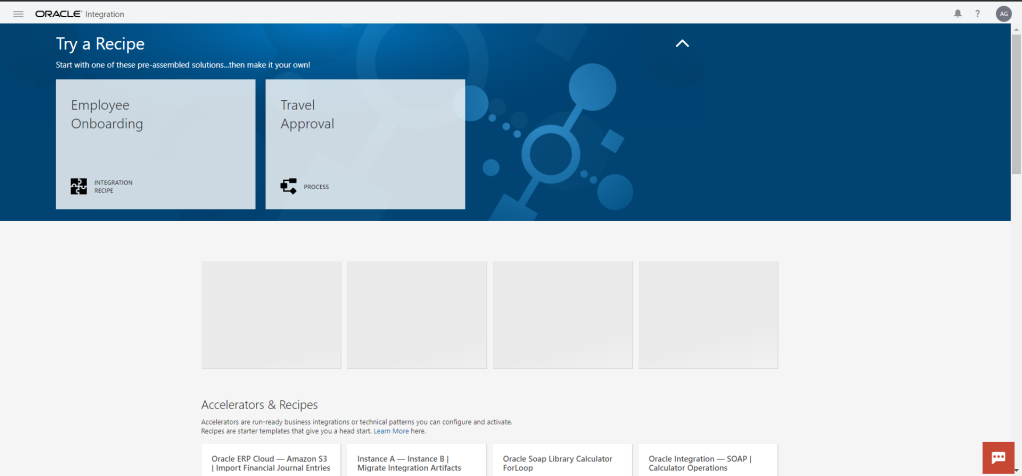
Step 2: Click on the menu icon (often referred to as “Hamburger” or “Pancake Stack” icon)
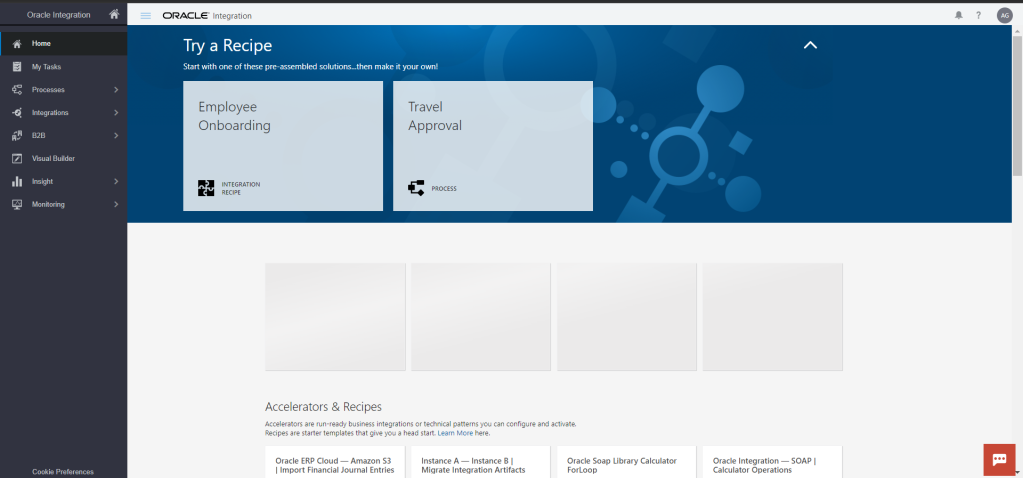
Step 3: Select “Integrations” from the navigation menu
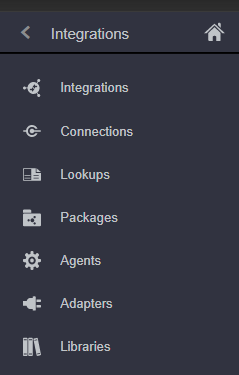
Step 4: Select “Connections” from the navigation menu. The connections screen will be displayed. Note that by default, the view will be filtered by connections created/updated by you (this filter can be removed)
Step 5: Click “Create” button to begin creating a new connection

Step 6: Given we are wanted to configure an adapter to UiPath, here we need to choose UiPath and click “Select”

Step 7: Add descriptive information to the adapter and click “Create”
Name – user defined, stick to an agreed naming convention
Identifier – this is an internal identifier. it will auto generate based on the connection name but as a user, you can alter that. Note that only capital letters, numbers and “_” or “-” can be used.
Role – the connections can be limited to “Trigger” only, “Invoke” only or both “Trigger and Invoke”. Selectable by a drop down list, any restrictions placed here at connector level will apply to any integration that uses it.
Description – a short description of the connection is useful for developers but not mandatory

Step 8: Once you have clicked create, you will be navigated to add connection details.
Before the connector is ready to be used, more connectivity information is required. Click “Configure Connectivity”:
- Connection URL: This is the URL of your UiPath orchestrator instance. In this case, I will use https://demo.uipath.com but I could use https://cloud.uipath.com
- Tenant Name: This is the name of your tenant within your UiPath Orchestrator instance. In this case, I will use my tenant name: “ASG_TENANT”
- Folder FQN: here I use “shared” as the processes I will call will be contained within the shared directory. If I do not specify a value, the default tenant value will be used (note – when testing the connection, Oracle Integration will also ensure that the folder FQN is valid)
Before the connector is ready to be used, more security information is required. Click “Configure Security” and select “Cloud Authentication”:
- Account Logical Name: Retrieve from UiPath Orchestrator console
- Client ID: Retrieve from UiPath Orchestrator console
- User Key: Retrieve from UiPath Orchestrator console


Step 11: Click “Test” to test your connectivity. If you have entered all details correctly, you will see a success message

Note also that the connection will show as 100% configured once you have performed this test action
Step 12: Click “save “Save” to save your connection configuration. You can now navigate back to the connection screen and your adapter is ready for use.

Use UiPath Adapter
If you have successfully followed the steps documented above, you will now be able to go ahead and use the adapter in an integration. For completeness, I have documented below a very basic usage of this adapter. I will simply create a scheduled integration (for ease of illustration) and within this integration I will invoke the UiPath adapter to call a “test connectivity” process that has already been defined in UiPath. Note here, the importance of the “Trigger/Invoke” choice when setting up the connection. Without declaring that the connection can be used in an Invoke scenario, this would not be possible.
Step 1: Log into Oracle Integration Cloud

Step 2: Click on the menu icon (often referred to as “Hamburger” or “Pancake Stack” icon)

Step 3: Select “Integrations” from the navigation menu

Step 4: Select “Integrations” again. This will navigate you to the integrations page. Note that by default, the view will be filtered by integrations created/updated by you (this filter can be removed).

Step 5: Click Create and select integration style. As mentioned I have selected the “Scheduled Orchestration” type. Once selected click “Select”.

Step 6: Add descriptive information to the adapter and click “Create”
Name – user defined, stick to an agreed naming convention
Identifier – this is an internal identifier. it will auto generate based on the connection name but as a user, you can alter that. Note that only capital letters, numbers and “_” or “-” can be used.
Package – associate this integration with a package (or collection) of integrations.
Description – a short description of the connection is useful for developers but not mandatory

Step 7: The integration designer will be displayed. Click the “Invokes” icon which is the first icon in the far right of the screen which looks like a target.
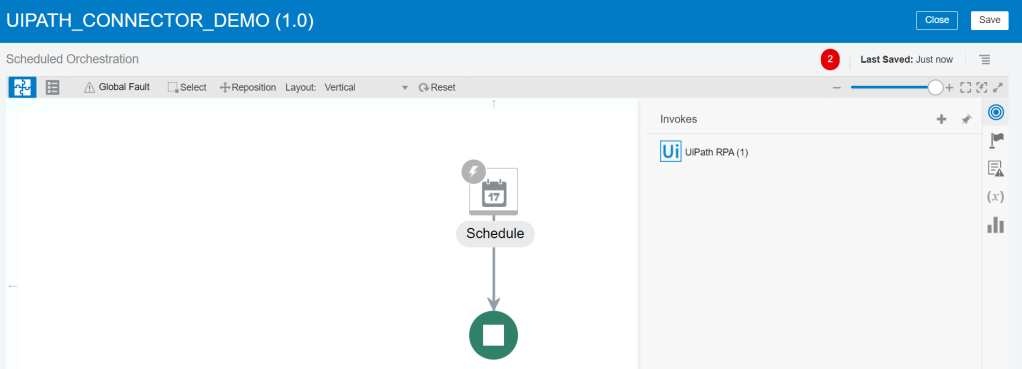
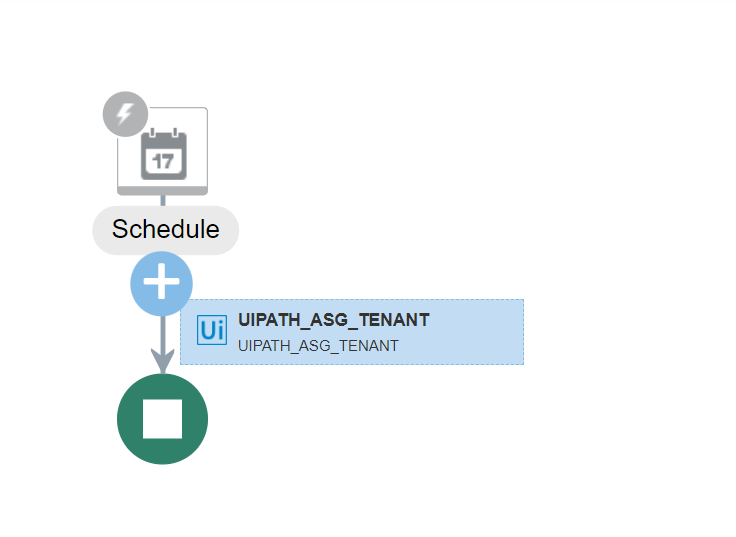
Step 8: Find and select your connection which was configured earlier and drag it onto the “+” icon in the integration flow.
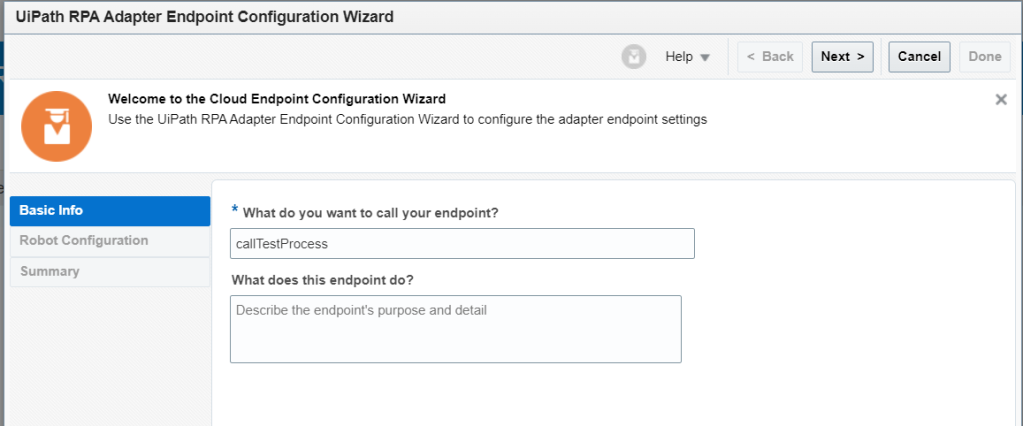
Step 9: Enter basic information to the endpoint configuration wizard and click “next”
- Name – be descriptive but follow some convention
- Description – not mandatory but useful for developers
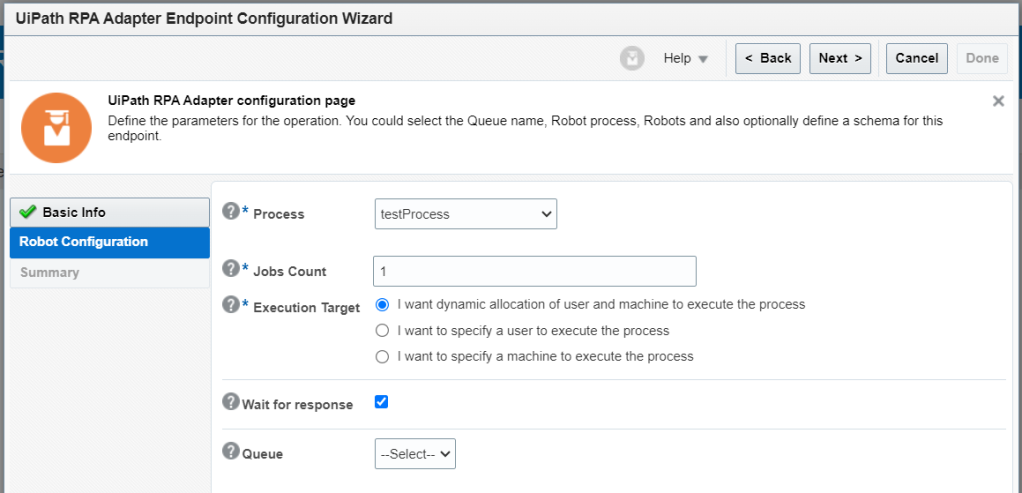
Step 10: Select the required process (these must be configured in UiPath orchestrator already), state how many jobs you wish to run, the execution target and if you wish for Oracle integration to wait for a response. Then, click “next”
Step 11: Click “Done”

Step 12: The integration designer should now look like this. . You could then add other elements or logic to your integration.

Step 13: Now, you can save, activate and run your integration!
Pingback: September 2023 - New Additions - Implementing Oracle Integration Cloud