
Introduction
In this blog post, we will explore how to configure an Oracle Cloud Infrastructure (OCI) confidential application to enable users to call Oracle Integration Cloud (OIC) integrations triggered by REST APIs, all secured using the OAuth 2.0 protocol. Specifically, we will focus on the client credentials grant type, which applies to confidential applications within Oracle Cloud. If you want to read about the authorisation code grant type instead, see my post: Oracle Integration Cloud: Calling API Endpoints using an authorisation code grant type
- Introduction
- Pre-Requisites
- Things to take a note of
- Create a REST triggered integration
- Create a Confidential Application
- Configure & Test REST API Call (Postman)
Pre-Requisites
- Postman – or similar – installed (https://www.postman.com/)
- Oracle Integration Cloud (gen3) Instance
- Administrator access to your Oracle Cloud Tenancy (ability to manage services and roles)
Things to take a note of
In order to follow this post and ultimately call an OIC integration instance via a REST API call, you’ll need to find the following details:
- Access Token URL: https://<idcs_url>/oauth2/v1/token
We’ll also need a few other things, but we won’t create those until later!
- Endpoint URL
- Client ID
- Client Secret
- Scope
To get your access token URL, follow the below steps:
Step 1 – Login to your Oracle Cloud console

Step 2 – Click on the menu icon (often referred to as “Hamburger” or “Pancake Stack” icon)
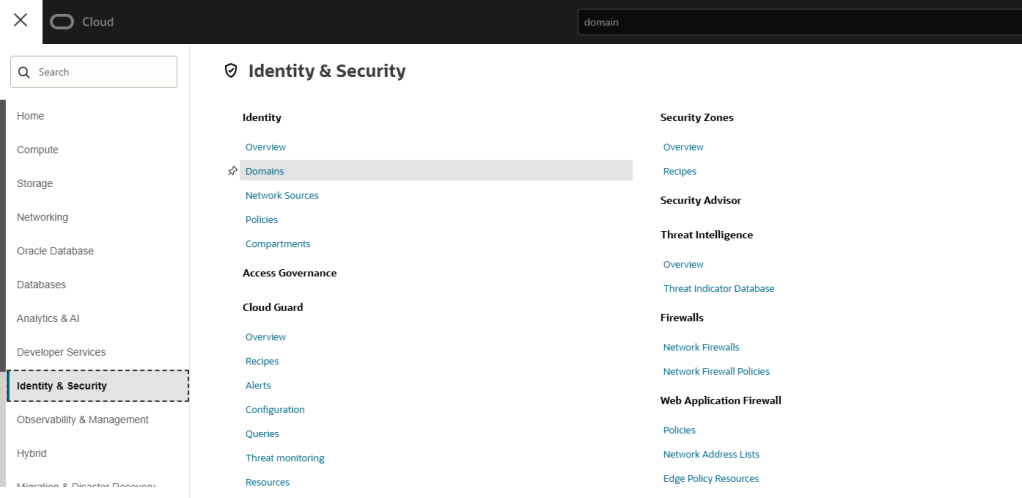
Step 3 – Select “Identity & Security” and then “Domains”
Step 4 – Navigate to your chosen domain – you’ll find your domain URL here!

Create a REST triggered integration
First, we need to create an integration that is triggered by a REST call. For this, I will keep it really simple only for demonstrative purposes (your integration should actually do something! 🙂 ).
Step 1 – Login to your Oracle Cloud console
Step 2 – Click on the menu icon (often referred to as “Hamburger” or “Pancake Stack” icon)
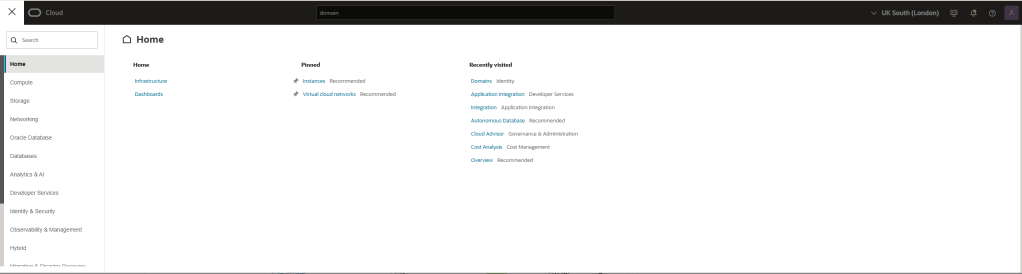
Step 3 – Select “Developer Services” and then “Integration”

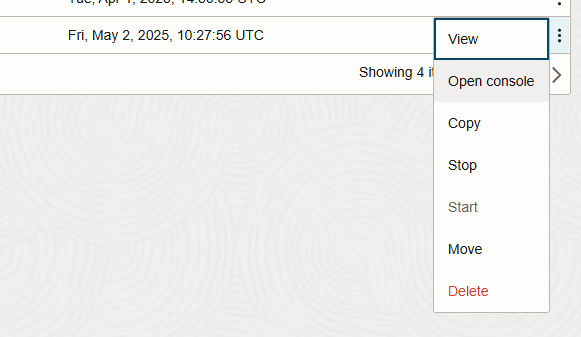
Step 4 – If you wish to change the compartment of your OIC instance, you can do so here before clicking the “3 dots” icon.

Step 5 – Click “Open Console”
Step 6 – Click on the menu icon (often referred to as “Hamburger” or “Pancake Stack” icon) and then click on “Design”
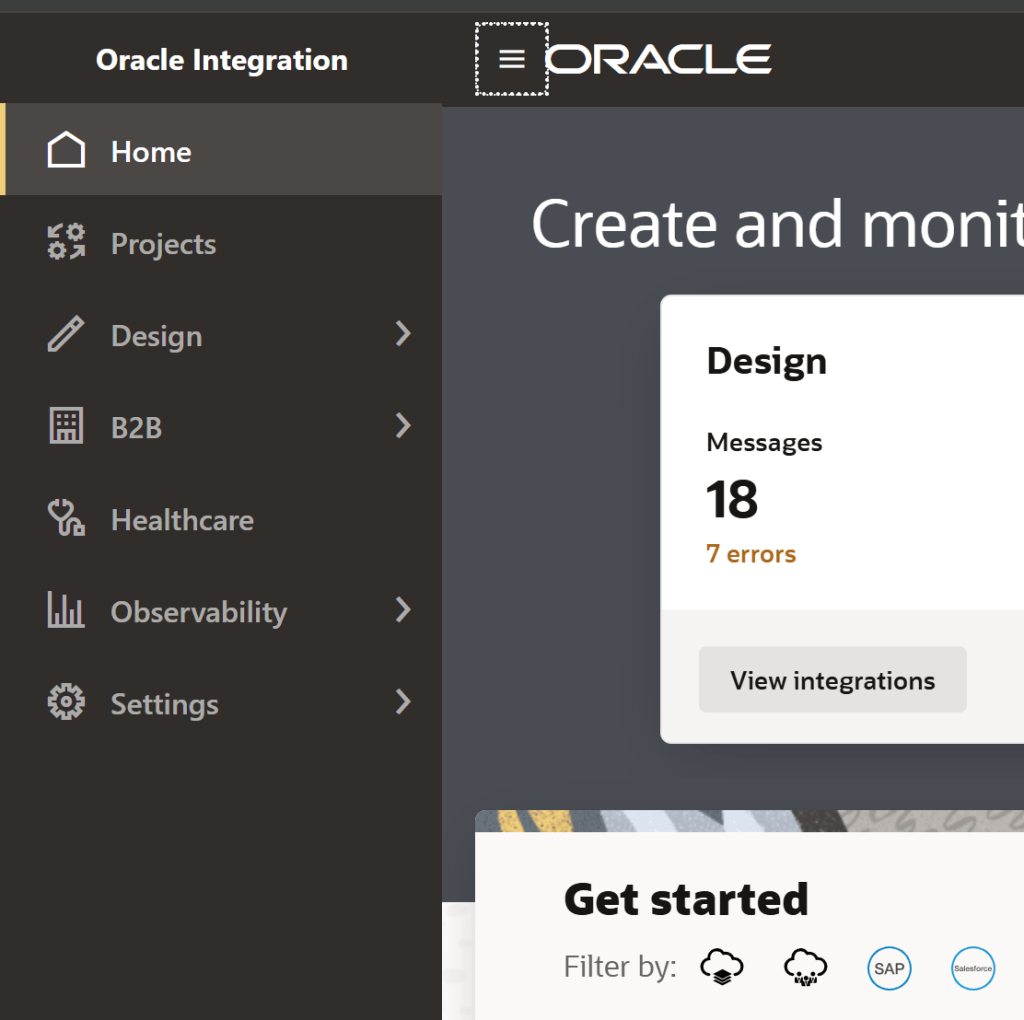
Step 7 – Click on “Integrations”
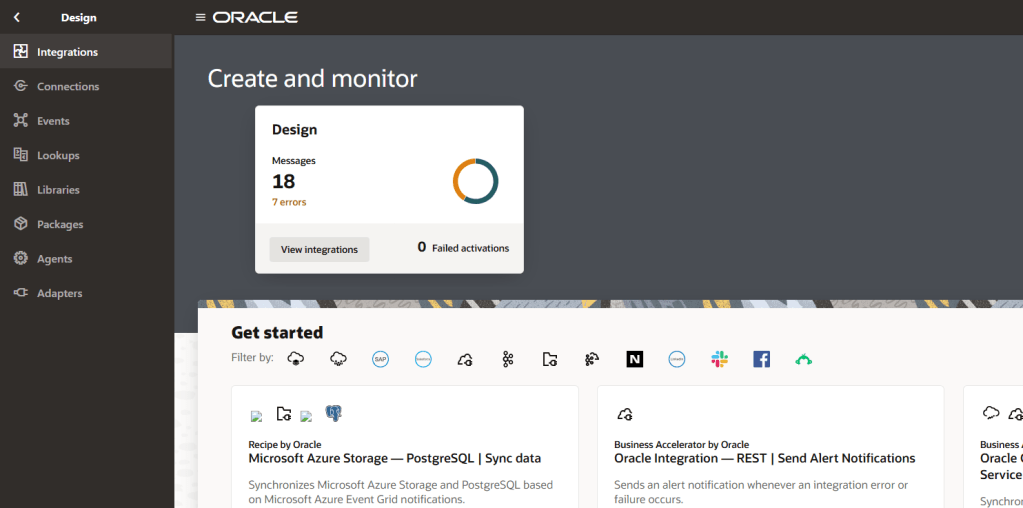
Step 8 – Click on “Create” to create an integration

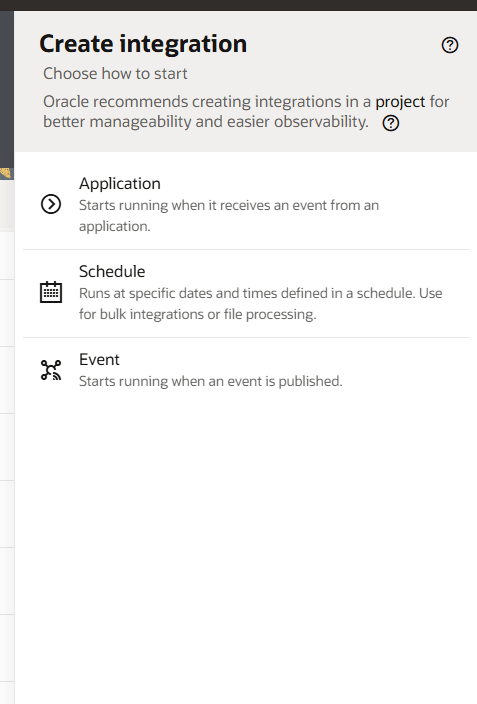
Step 9 – Select which type of integration you want to create. The types are:
- Application: An integration that starts running when it receives an event from an application
- Schedule: An integration that runs at specific dates and times defined in a schedule.
- Event: An integrations that starts running when an event is published.
Here I will select “Application” since the integration will be triggered via a REST call.
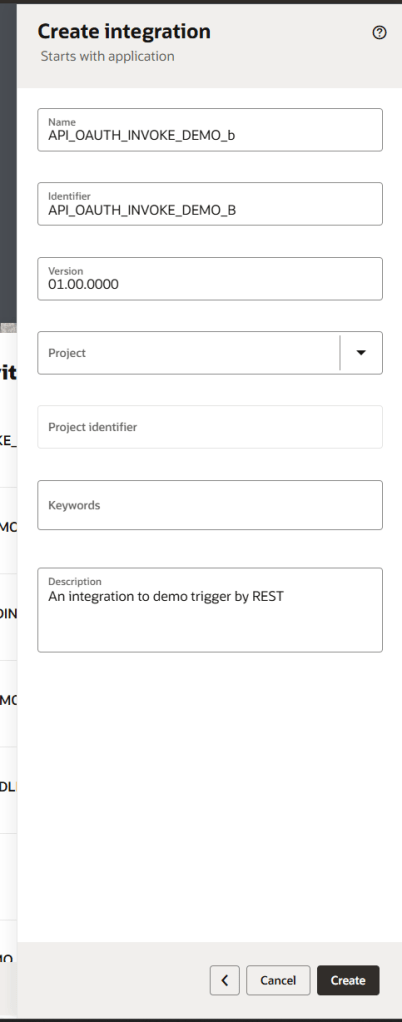
Step 10 – Populate required information about your integration and then click “Create”
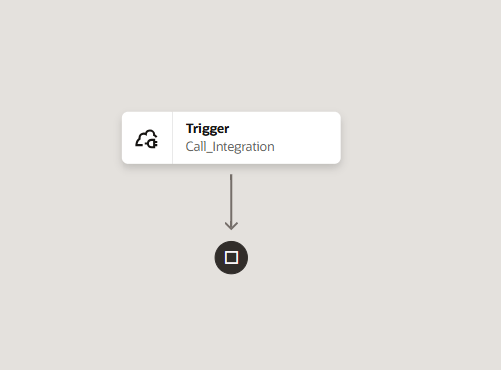
Step 11 – A new integration canvas will open and you are ready to start building your integration. In this integration, we want to perform a really simple action: just run when called via REST API!

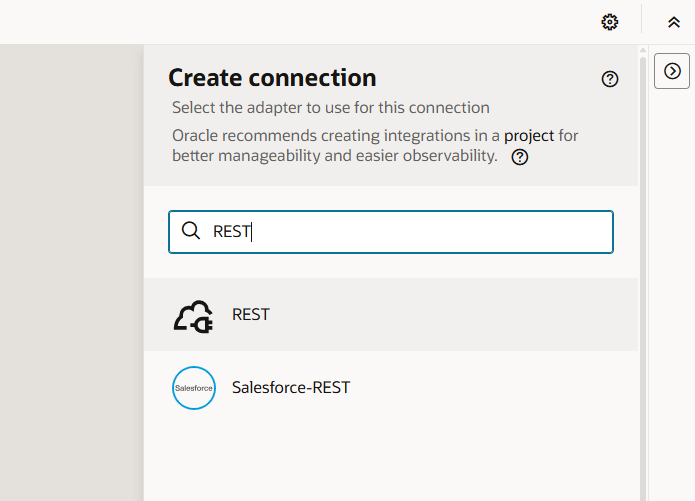
Step 12 – To do that, we need to add a connection onto the integration build canvas. Open the right-side panel with the “>” icon. In true blue peter style ( 🙂 ), I already have a REST trigger connection, though, for demonstration purposes, I’ll create another.
Click the “+” icon.

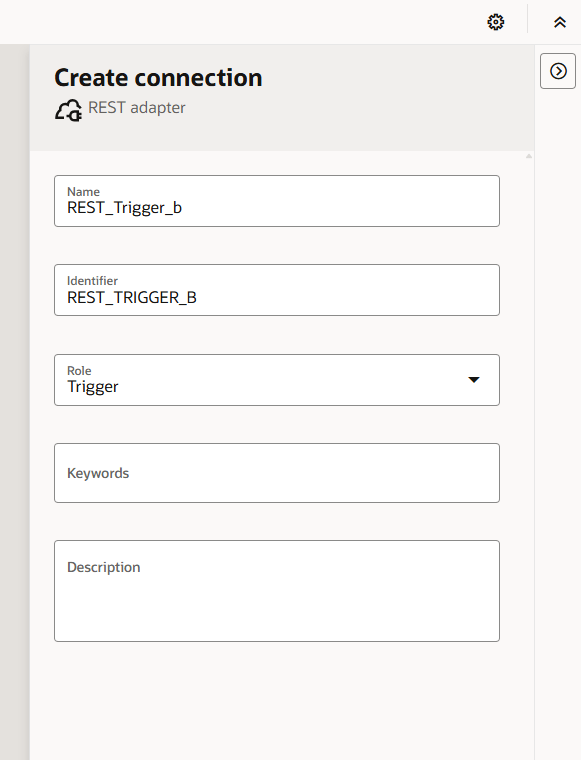
Step 13 – Select a REST adapter
Step 14 – Add basic details of the connector. I have selected “Trigger” only since I don’t want to use this connection to invoke.
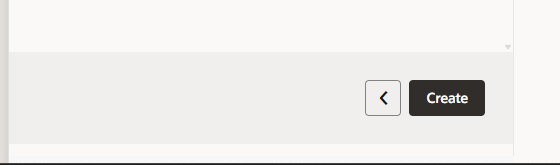
Step 15 – Click “create”
Step 16 – Here you can change your access to be public or private. Note – I have selected “OAuth 2.0”.
Click “Test”. Once tested successfully, click “Save” and then go back to your integration canvas using the “<” symbol on the top left of the screen.

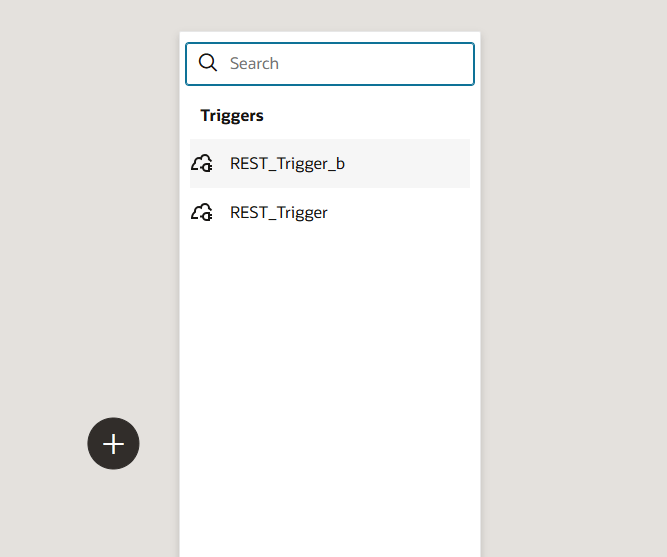
Step 17 – Now, click the “+” icon on the canvas and select the connection you have just created.
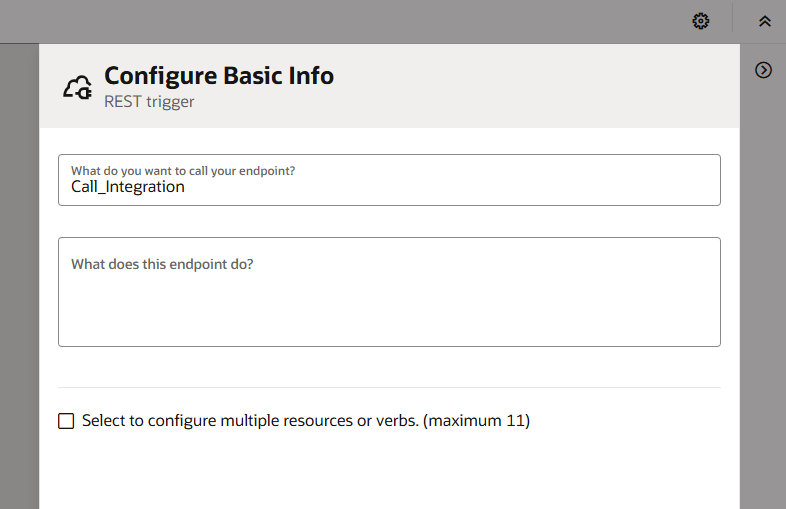
Step 18 – Give your endpoint some basic details before clicking “Continue”

Step 19 – Add further details. I’m making this very simplistic for this post – your API endpoint is likely to need to do something and therefore will have request/response headers and/or body. Once done, click “continue” and then click “Finish”.

Step 20 – Now you have an integration that can be triggered via REST API. You can add any other integration
Step 21 – Go back and use the on/off symbol to activate your integration

Create a Confidential Application
Now, to be able to call the OIC integration using the client credential grant type, we need to create a confidential application. To do that follow the steps below:
Step 1 – Login to your Oracle Cloud console
Step 2 – Click on the menu icon (often referred to as “Hamburger” or “Pancake Stack” icon)
Step 3 – Select “Identity & Security” and then “Domains”
Step 4 – Navigate to your chosen domain and click “Integrated Applications”. If you do not see these options, then your user does not have the privileges – speak to your tenancy administrators.
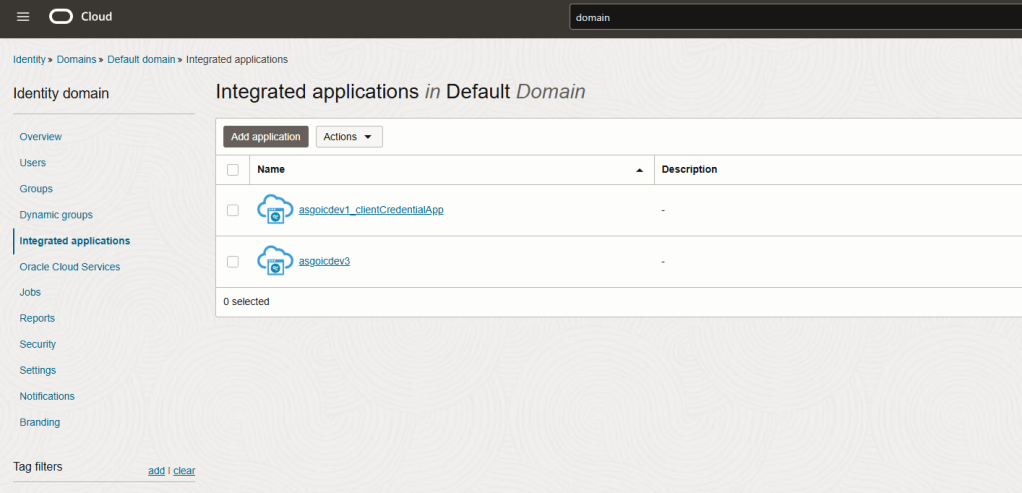
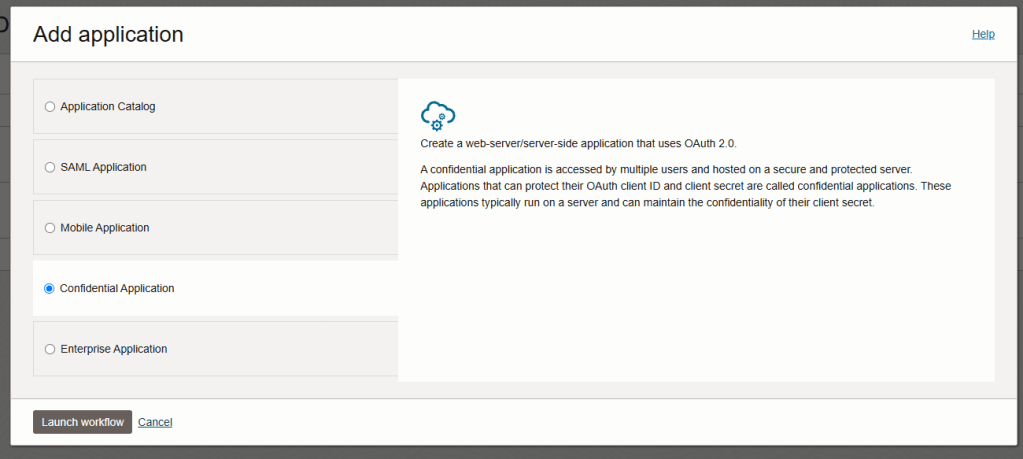
Step 5 – Click “Add Application”. The Wizard will begin. Select “Confidential Application” and click “Launch Workflow”.
What is a Confidential Application? A confidential application is accessed by multiple users and hosted on a secure and protected server. Applications that can protect their OAuth client ID and client secret are called confidential applications. These applications typically run on a server and can maintain the confidentiality of their client secret.
Step 6 – Give your confidential application a name and then click “Next”.
I will not populate any other information on this screen since I’m showing only a very basic flow. you should consider options carefully when building a “real” solution.

Step 7 – Since I am creating a client configuration, select “Configure this application as a client now”. This will expand the configuration box. It is possible to configure an application for many types of grant, however, I am only here showcasing the “Client Credentials” flow.
Select “Client Credentials” and “Refresh Token”.

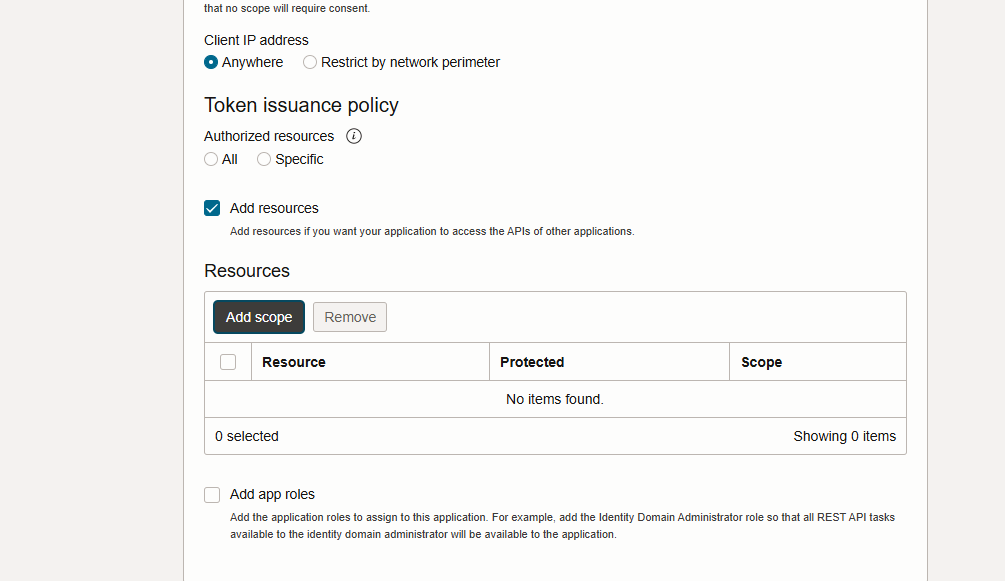
Step 8 – Select “Anywhere” for “Client IP Address”. You should protect your application in a commercial setting with more stringent security controls like the “Restrict by network perimeter” option.

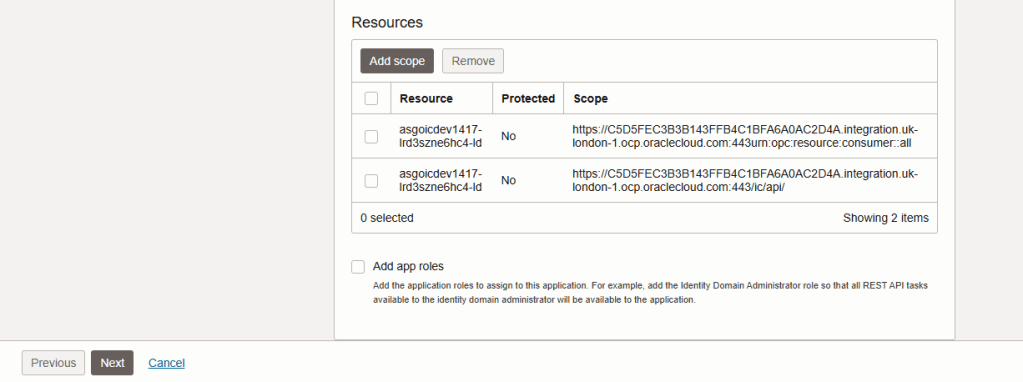
Step 9 – Select “Add Resources”. The configuration box will expand when you do this. Click “Add Scope”
Step 10 – Here we need to give the confidential application access to the OIC instance resource. Find your instance name and tick it, before clicking “Add”

Step 11 – Now you will see scopes added to your confidential application. Take a copy of the “consumer::all” scope – you’ll need it later. Click “Next”
Step 12 – Click “Finish”
Step 13 – The confidential application is now created. Click “Activate”
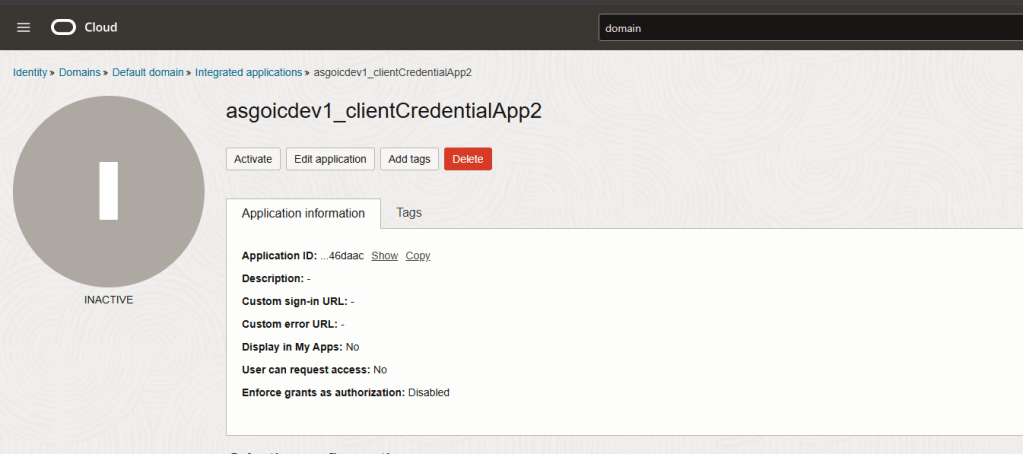
Step 14 – Take note of your client ID and client secret – you will need this later!

Step 15 – You will notice that your client application has no app roles. This means that neither this application and the OIC instance, do not recognize one another.

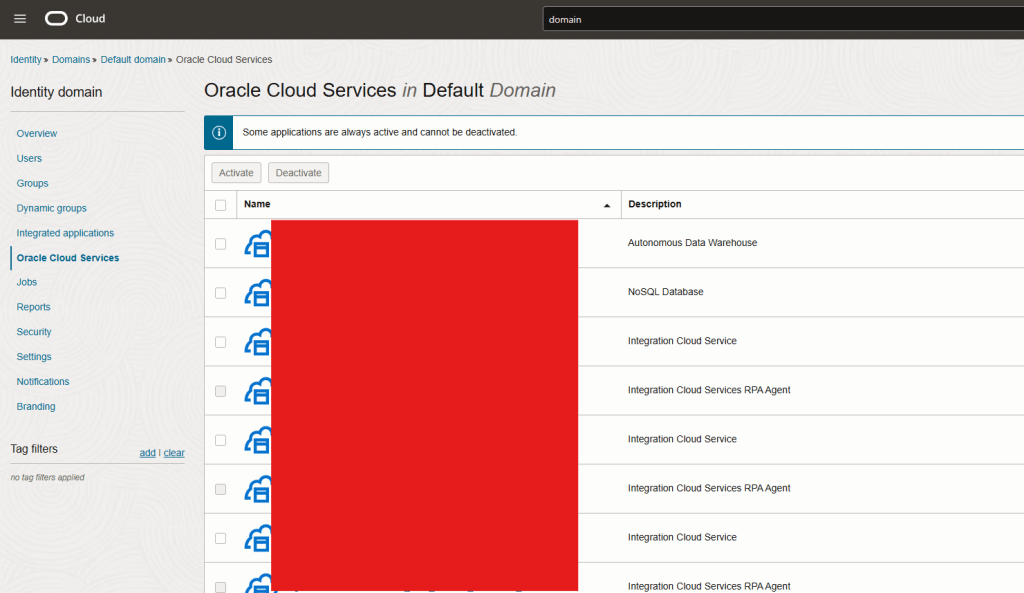
Navigate back to your domain and click on “Oracle Cloud Services” and click on your OIC instance application.
Step 16 – Click on “Application Roles” and expand the “Service Developer” role.
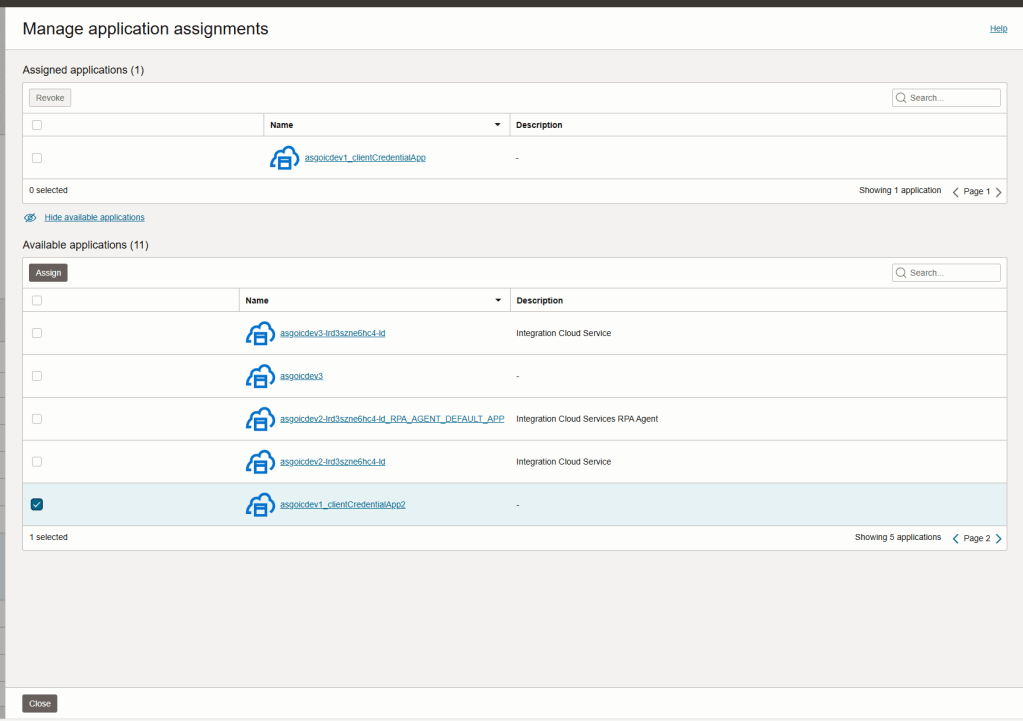
You will need to assign your confidential application to your OIC instance application. To do so, click “Manage” next to “Assigned applications”.

Step 17 – Find and select your confidential application before clicking “Assign”. Note – you may have to click on “show available applications”. Note 2 – There are multiple pages.
Once done, you can click “close”.
Configure & Test REST API Call (Postman)
In this post, I am using postman to demo the calling on my API. you can use alternative options but my steps may not directly compare. To avoid assuming that readers are familiar with postman, I will not leverage the environment variables feature (but I would recommend that you do in practice!)
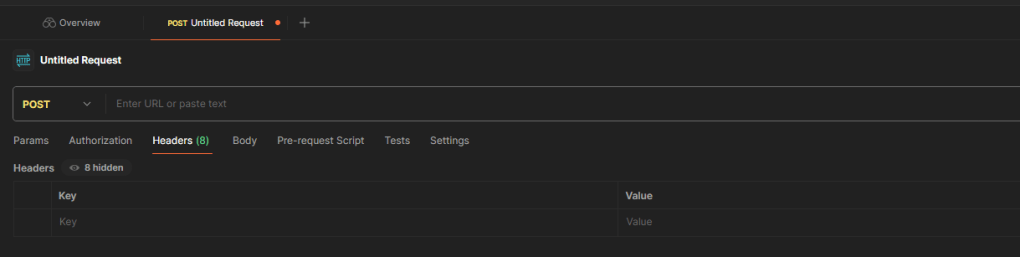
Step 1 – Open Postman. click the “+” icon next to the “overview” tab. This will create an “Untitled Request” tab.
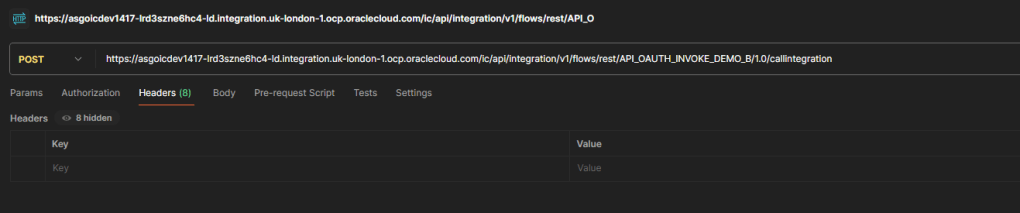
Step 2 – Enter your endpoint URL for your OIC integration. If you don’t know how to find this, you can navigate to “run” your integration in OIC and click on “Endpoint Metadata”.

Make sure to select the request type that you defined in OIC. e.g POST, GET, etc. (Mine was POST)
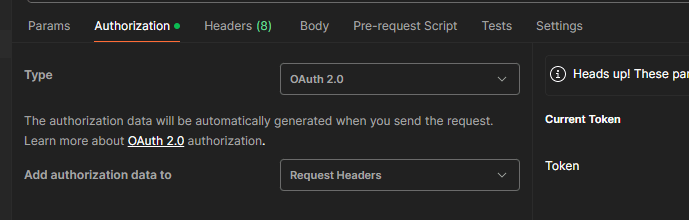
Step 3 – Select the “Authorization” tab and choose OAuth 2.0. This should default to “Request Headers”, but if it doesn’t, then you should make sure that is selected.
Step 4 – Populate the details required to configure a new token (you’ll need all the details we have collected so far). Make sure you select “Client Credentials” as the grant type and “Send as Basic Auth header” for Client Authentication.

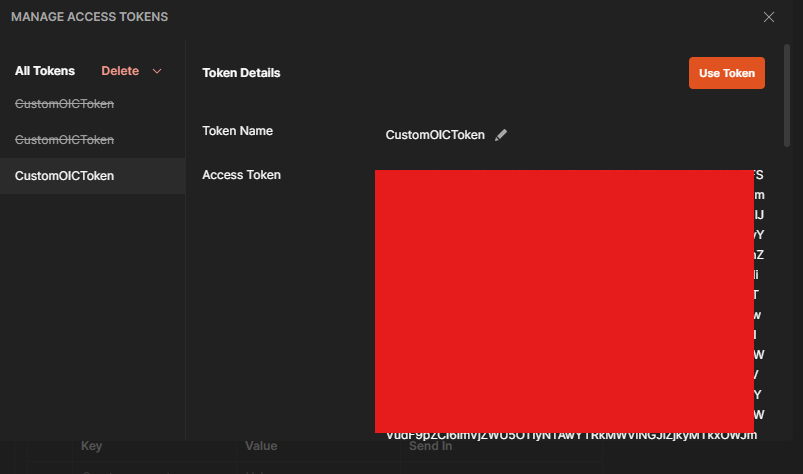
Step 5 – Now click on “Get New Access Token”

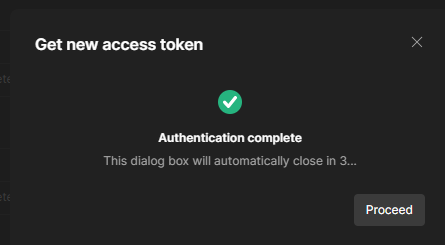
Step 6 – When authentication is completed, click “Use Token”. This will assign the token to the token name you gave it in step 4 (mine is CustomOICToken)
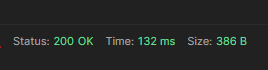
Step 7 – Your REST call should be ready now. Click on “Send”

Here I can see that my API call returned a “200 OK” response. that is good!
The final check to do is to confirm that my integration triggered in the OIC console. When I checked… SUCCESS.


Pingback: Oracle Integration Cloud: Calling API Endpoints using an authorisation code grant type | AMY SIMPSON-GRANGE – BLOG
Hi Amy, your blog has been very helpful to me in understanding more about OCI -> OIC, Integrations and integrated apps. Thank you. – Steve
LikeLike
Hi Steve – I’m glad they are helping. Thanks for visiting!
LikeLike