
When it comes to using the out of the box features of Oracle Integration Cloud, there are sometimes some additional steps you need to take to activate those features. In this post, we will look at using the OIC Object Storage action, and specifically, ensuring that your OIC instance can communicate with your OCI Object Storage Bucket resources.
To follow this post, you will need to have an object storage service and buckets set up (with a file or 2 in there!). If you haven’t got this, and want to learn how, then you can see my posts: Creating an Object Storage Bucket in Oracle Cloud.
Note – Before I move on, I must note that the Oracle Cloud instance I am using for demos is not a customer tenancy and I am the only user within the tenancy. What this means is that I have more freedom upon which what access I grant for my user account and internal connectivity between OCI resources. The information I present is simply for descriptive purposes and I urge that you align to required security protocol when implementing in a commercial environment – for demos in your own dedicated tenancy, it’s ok, you can do what I do! 🙂
Create an Integration Instance
Step 1 – Log into your Oracle Cloud account
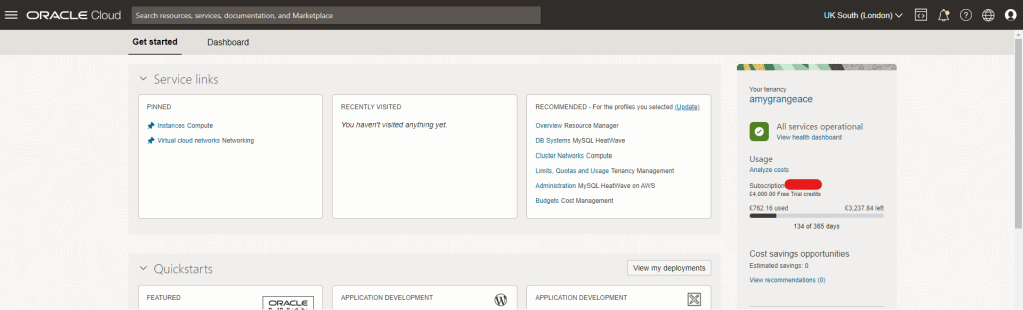
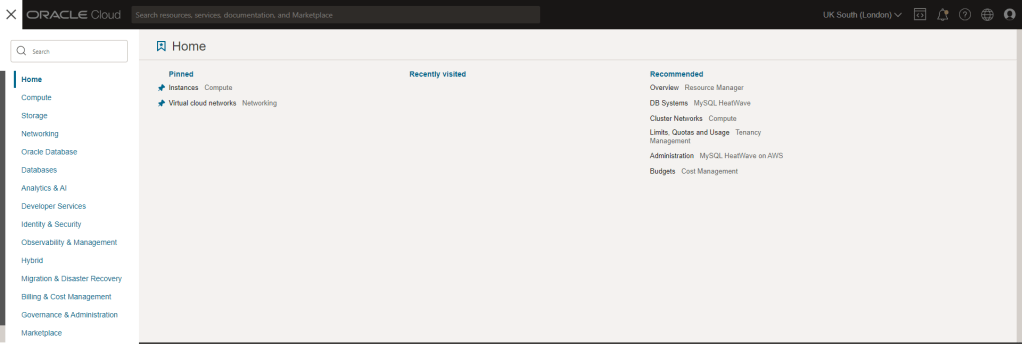
Step 2 – Click on the menu icon (often referred to as “Hamburger” or “Pancake Stack” icon)
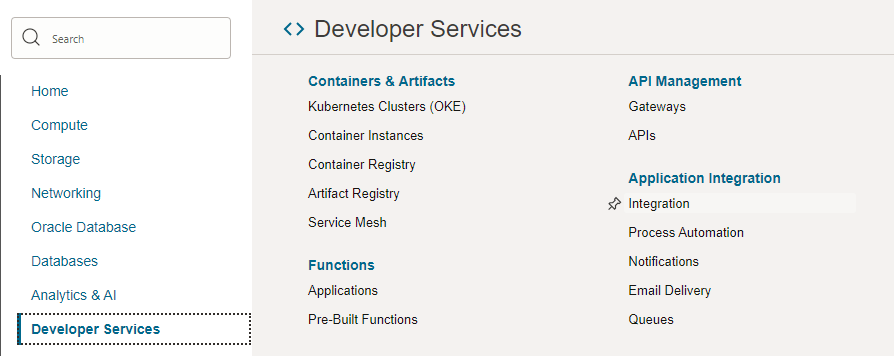
Step 3 – Select “Developer Services” and then Select “Integration”
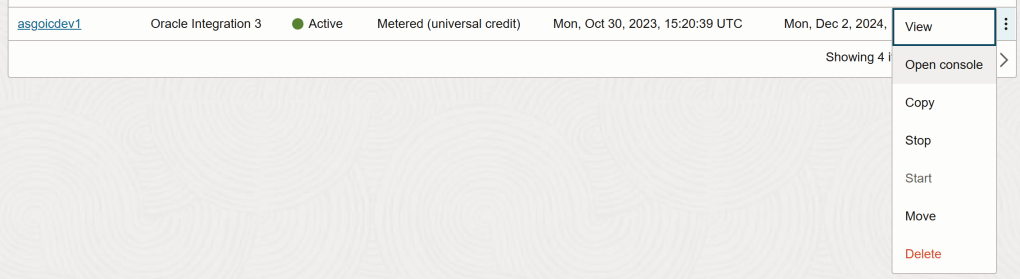
Step 4 – If you wish to change the compartment in which you are provisioning the Oracle Integration 3 instance, you can do so here before clicking the “3 dots” icon. Here you can see that I already have 2 instances already provisioned (1x Oracle Integration Gen 2 & 1x Oracle Integration 3). If you have not yet set up a compartment, see my post: Creating a Compartment in Oracle Cloud.

Step 5 – Select “Open Console”
Step 6 – This will open the Oracle Integration service console

Step 7 – Click on the menu icon (often referred to as “Hamburger” or “Pancake Stack” icon) and then click on “Design”
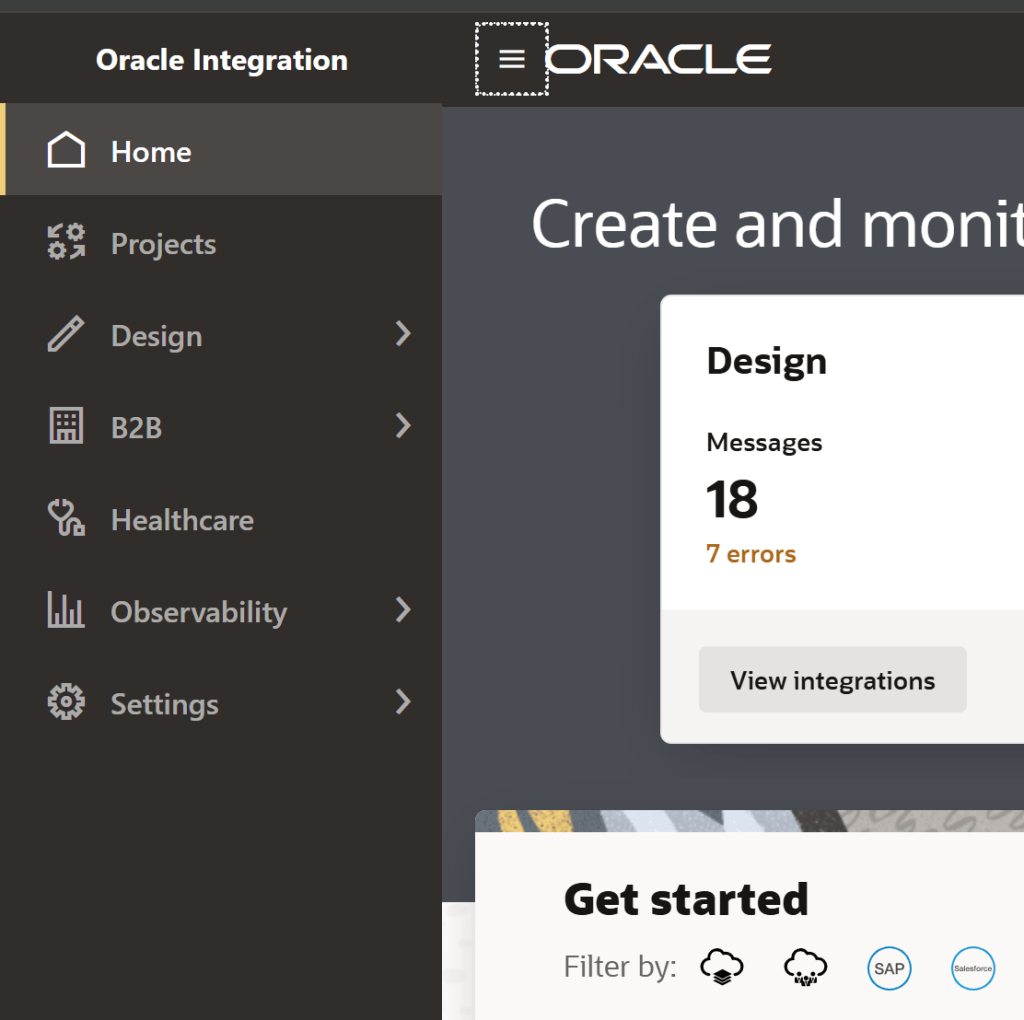
Step 8 – Click on “Integrations”
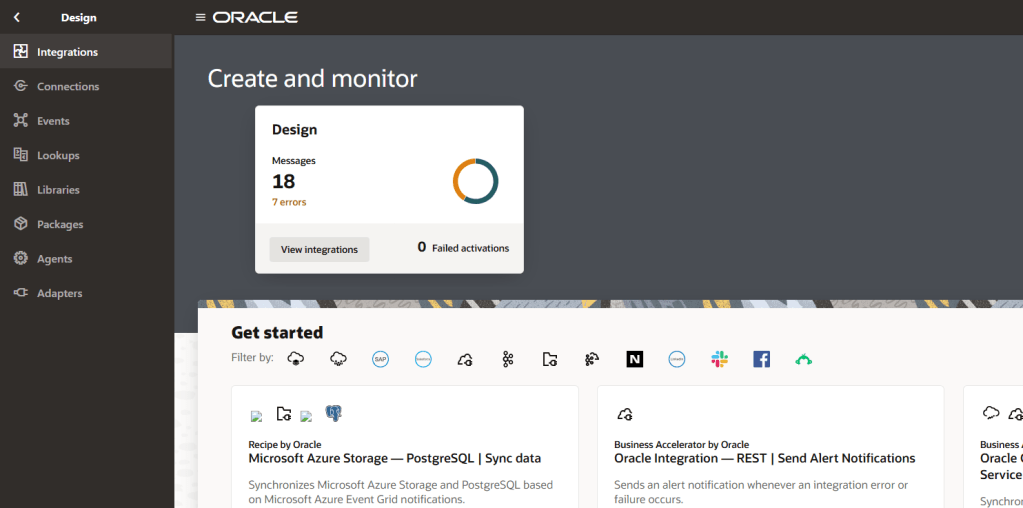
Step 9 – Click on “Create” to create an integration

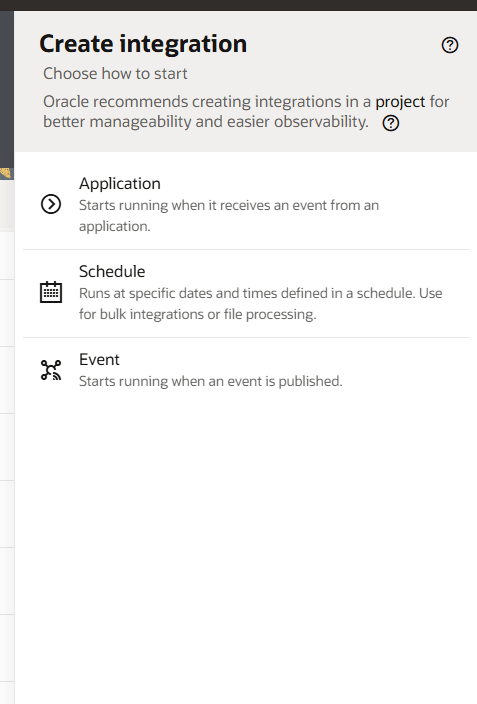
Step 10 – Select which type of integration you want to create. The types are:
- Application: An integration that starts running when it receives an event from an application
- Schedule: An integration that runs at specific dates and times defined in a schedule.
- Event: An integrations that starts running when an event is published.
Here I will select “schedule” for ease of demo.
Step 11 – Populate required information about your integration
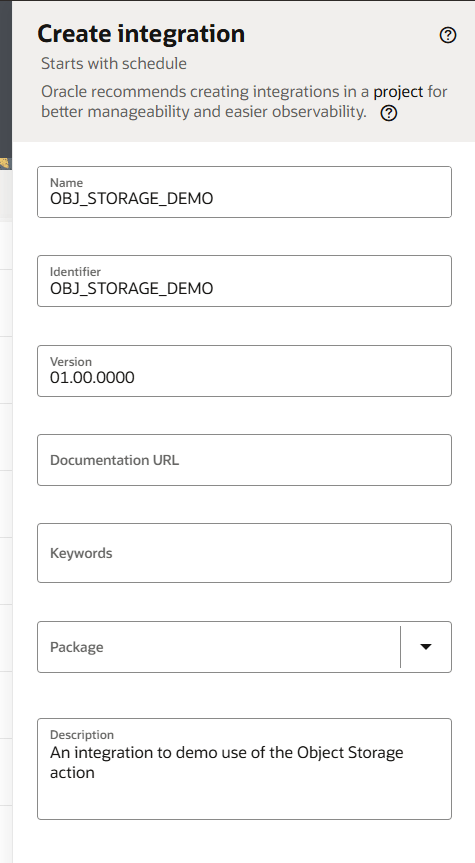
Step 12 – Click “Create”
Step 13 – A new integration canvas will open and you are ready to start building your integration.

Building the Integration
In this integration, we want to perform a really simple action: just list the available objects available in an OCI Object Storage bucket! To do that, we need “drag” an OCI object storage action onto the integration build canvas.
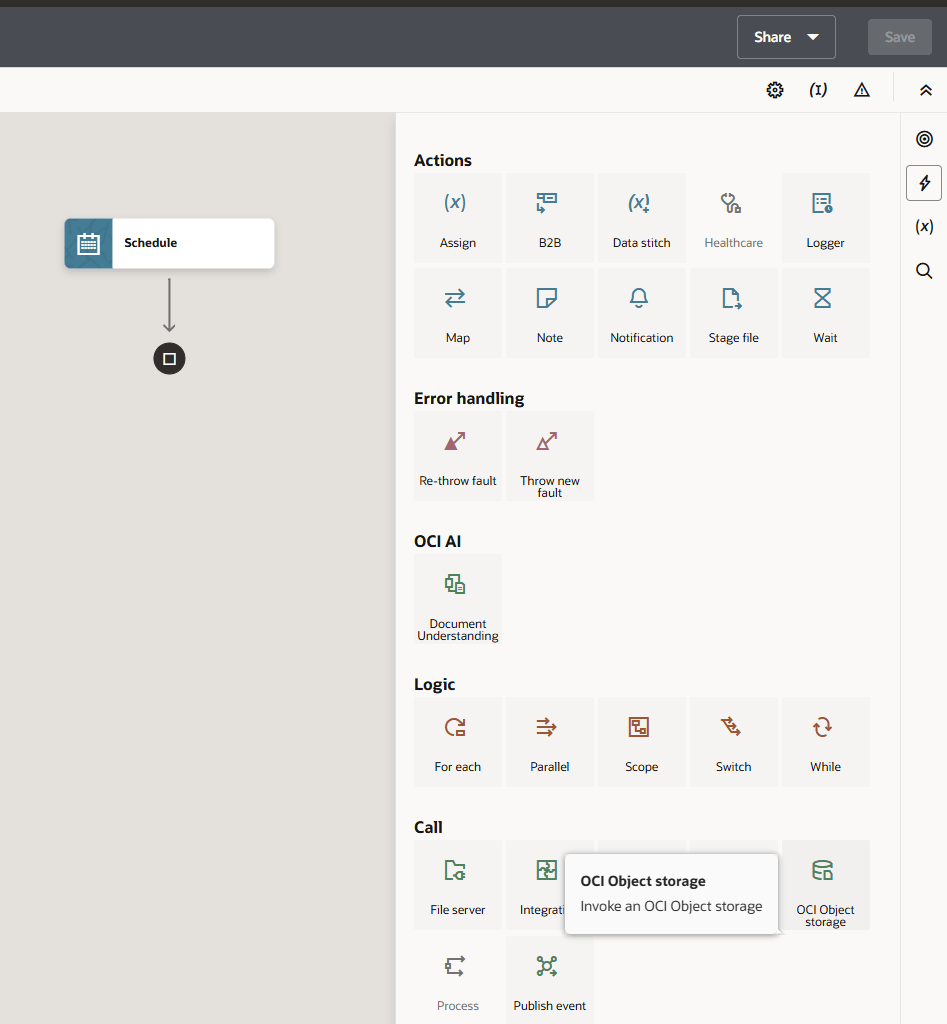
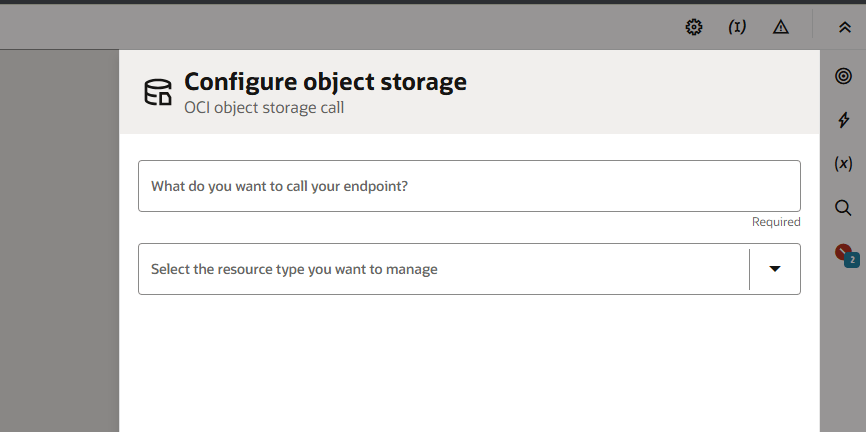
When you do that, you’ll be presented with a configuration wizard for this action as per the below:
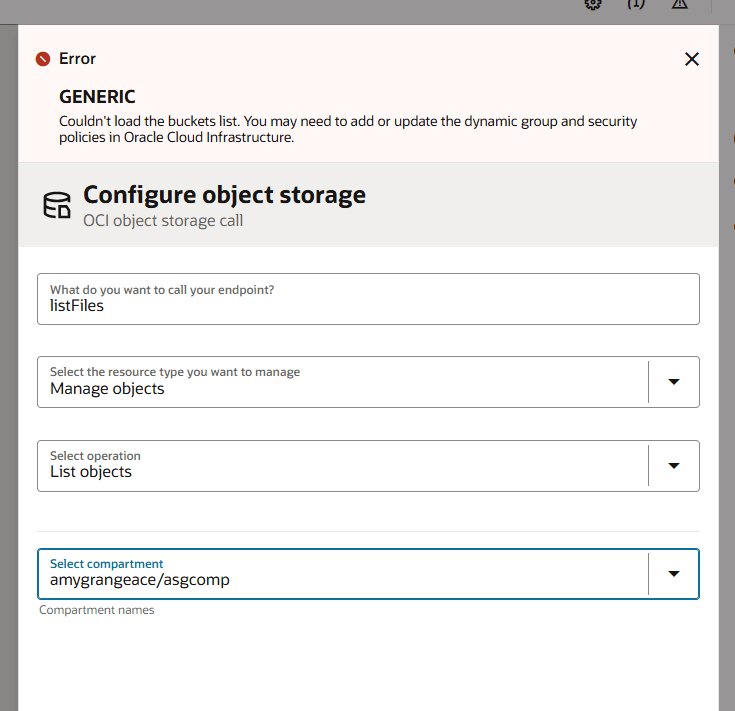
The problem is, when you begin to populate the wizard, you might come across the below issue. This error is ultimately telling you “I can’t access the OCI object storage service to allow you to select which bucket you want this action to look at!”
Giving OIC access to OCI Object Storage
First, you’ll need to create a dynamic group. A dynamic group allows you to group OCI resources that you can then apply policies to. instead of explicitly adding to the group, you instead define matching rules which determine the resources that are members of the group (hence dynamic). For example, a rule you set might give any resources in a particular compartment as a member of the dynamic group. There are many ways to do this, but I give a flavour of it below with the ultimate goal: I want my OIC instance to talk to my OCI Object storage instance.
Step 1 – Navigate to the OCI console
Step 2 – Click the menu icon (often referred to as the “hamburger” or “pancake stack”). Then Select “Identity & Security” before selecting “Domains”.

Step 3 – Navigate to the domain you are working in and select “Dynamic Groups”.
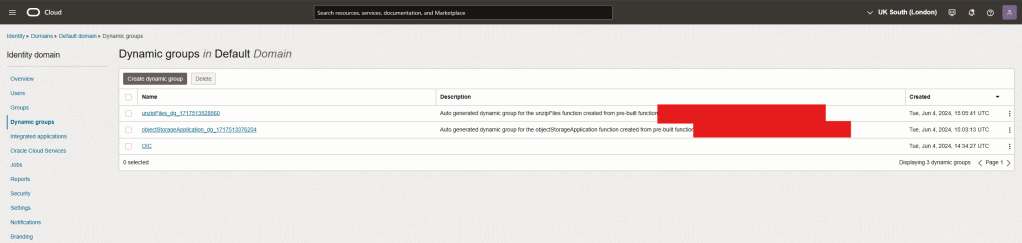
Step 4 – Click “Create dynamic group”. You will be presented with the configuration Wizard. Here, give your dynamic group a name and a description. It will also ask you to define the matching rule(s) to create “members” of the group

Step 5 – In another OCI window, you’ll need to go and find the resource ID of your OIC instance. (there are other ways of creating an appropriate match – this is just one of them). Follow steps 1 & 2 again, but at step 3, this time select “Oracle Cloud Services” instead of “Dynamic Groups”.

Step 5 – Identify your OIC instance and click on it. At the bottom of the info page, you’ll come across a “CLIENT ID” for your instance. Copy this.

Step 6 – Now go back to your dynamic group creation wizard in the other window. Add the following as a matching rule:
resource.id = '<<CLIENT_ID>>'Once done, click “Create”

Step 7 – Now, you have a dynamic group created of which your OIC instance is a member of

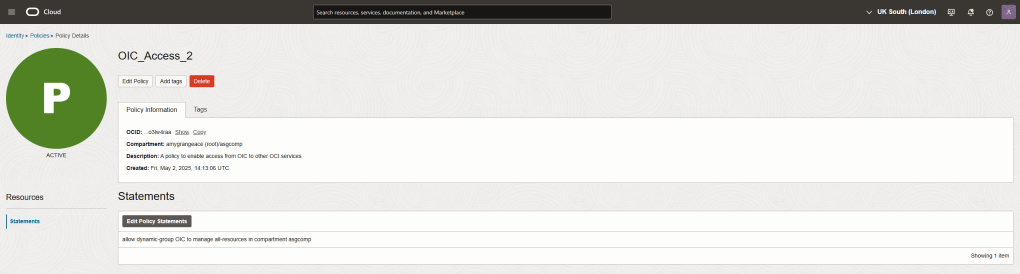
Step 8 – Now, we need to create a policy for this group. Go back to “domains” and this time, select “policies”. Click on “Create Policy”
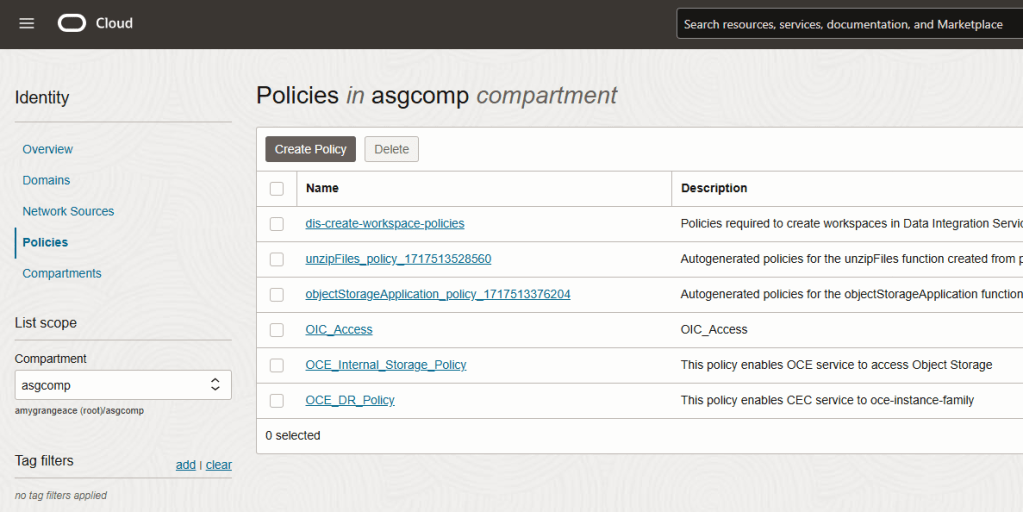
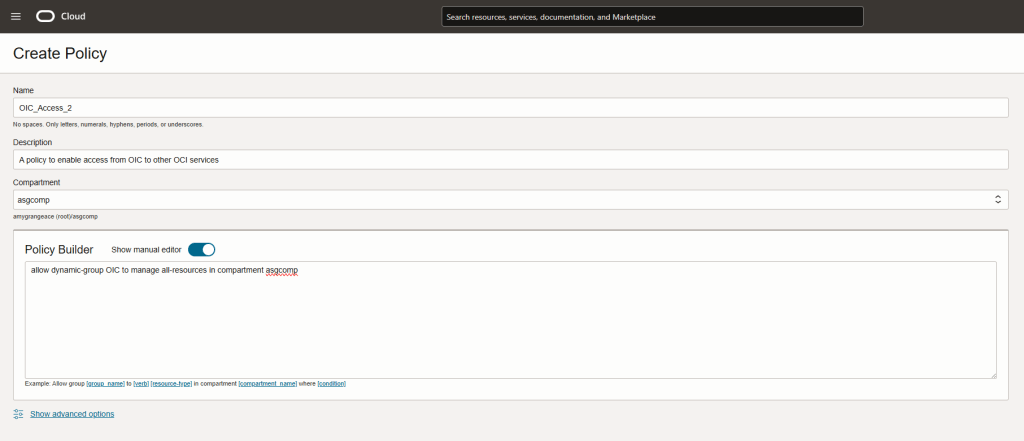
Step 9 – Complete the configuration wizard and use the following policy code to define the policy that you want:
allow dynamic-group OIC to manage all-resources in compartment asgcomp
As I’ve said previously, this is just an example (a wide reaching one!) it allows OIC to “manage” all resources within the compartment. you may wish to be more specific than this.
Step 10 – Click “Create” and now you have defined your policy
Note – once you have made this change. In my experience, it does not take immediate effect. At times I have waited for a few minutes and the issue resolves, and in other cases I’ve had to bounce (start/stop) my OIC instance. I’m not sure if this is my design, but either way, it is what I’ve observed!
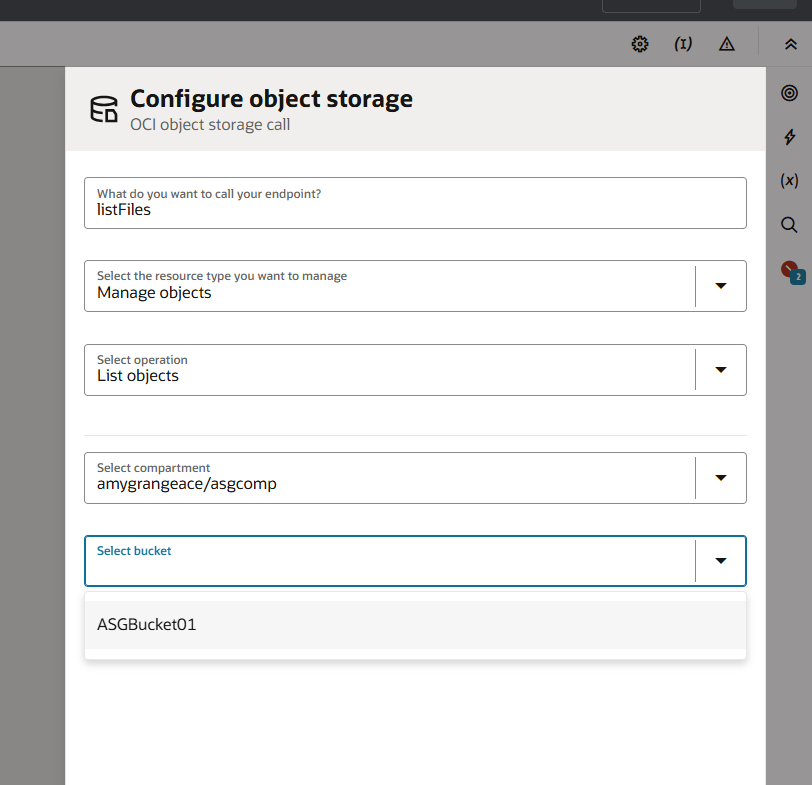
Now, when I return to the OIC instance, to reconfigure the OCI Object Storage action, you can see that the OIC instance is now able to communicate with OCI Object Storage and the list of available buckets becomes available. Here I select my bucket “ASGBucket01” and click “continue”.

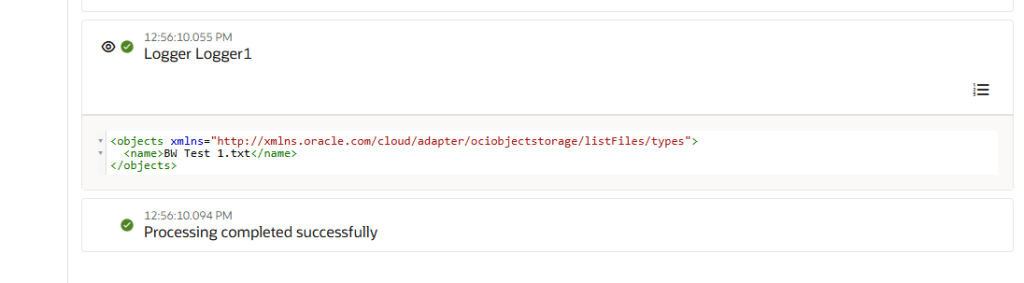
I also added a simple logger action so that I can easily show the results of the list file action. in a “normal” integration flow, it’s highly likely that you would begin to loop around the response received to perform action on the files.
Testing the integration
This is a really simple (and unrealistic!) integration for demonstration purposes, however, for completeness, here is what happens when I run the integration – I see the logged record of the file that exists within my OCI Object Storage bucket.

Pingback: Exploring Oracle Integration Cloud: May 2025 - Implementing Oracle Integration Cloud