
Access Control Lists (often referred to as ACLs) restrict access to your Oracle Autonomous Database by a configured specified comma-separated list of IP addresses or CIDR blocks. By default, unless you specify otherwise, your ADB will be open to access from any IP address, so this an important consideration when you provision your ADB instance. I wrote articles on Creating an ATP Database in Oracle Cloud and Connecting to an ATP Database in Oracle Cloud. In this article I will explain how you can add an additional layer of security to your Oracle Autonomous Database with Access Control Lists.
Note 1: The details in this post assume that you already have an Oracle Cloud free tier (or upgraded!) account. If you don’t you can get one here.
Note 2: Given the regular release schedule present in Oracle Cloud, it is possible that the screens may change somewhat beyond the writing of this post. If this happens, please comment on this post and I will try to help you out. (and update this post!)
Access Control List – New Instance
To create a new access control list during the provision of a new ADB instance, use for the following steps:
Step 1: Log into your Oracle Cloud account (free tier is suitable)

Step 2: Follow steps 1-8 in my post Creating an ATP Database in Oracle Cloud, to begin provisioning your Oracle Autonomous Database instance.
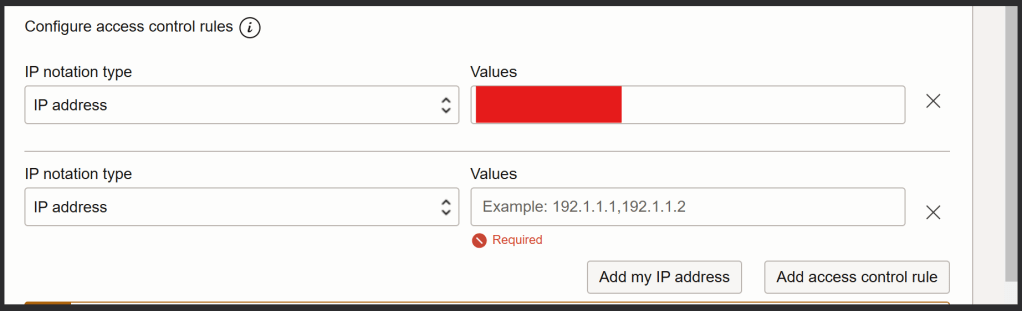
Step 3: At Step 9, instead of selecting “secure access from anywhere”, select “Secure access from allowed IPs and VCNs only”. You can select the button “Add my IP address” to automatically add your current IP address, alternatively, you can add ranges or multiple dedicated IP addresses by selecting “Add access control rule”.

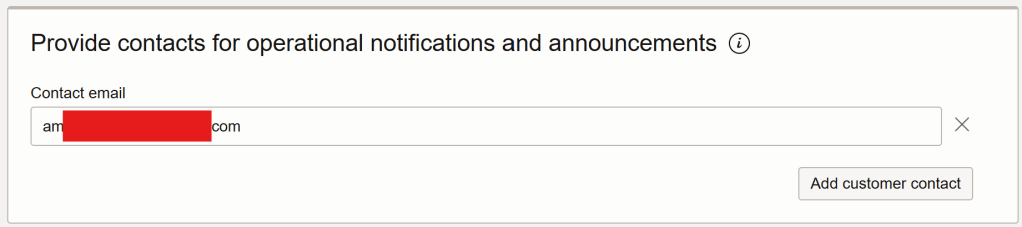
Step 4: Provide an email address to receive notifications and announcements
Step 5: Click “create Autonomous Database”

Step 6: The service will now be automatically be provisioned by Oracle Cloud. The state is shown as “Provisioning”

And there we have it! After a short period of time Oracle Cloud has successfully provisioned my new ATP service and the database is ready to use
To read about how to connect and use this database in SQL Developer & SQL*Plus see my post here.
Access Control List – Existing Instance
To create a new access control list on an already created instance of an Oracle ADB instance, use for the following steps:
Step 1: Log into your Oracle Cloud account (free tier is suitable)
Step 2: Click on the menu icon (often referred to as “Hamburger” or “Pancake Stack” icon)

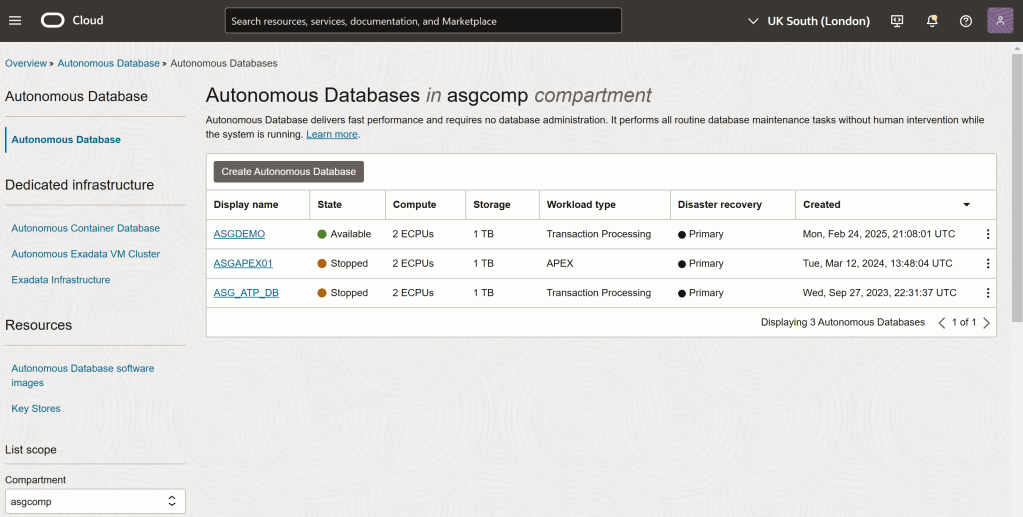
Step 3: Select “Oracle Database” and then select “Autonomous Database”

Step 4: Here you can change the compartment in which you want to find your ADBs. You can see that I already have 3 services already provisioned.
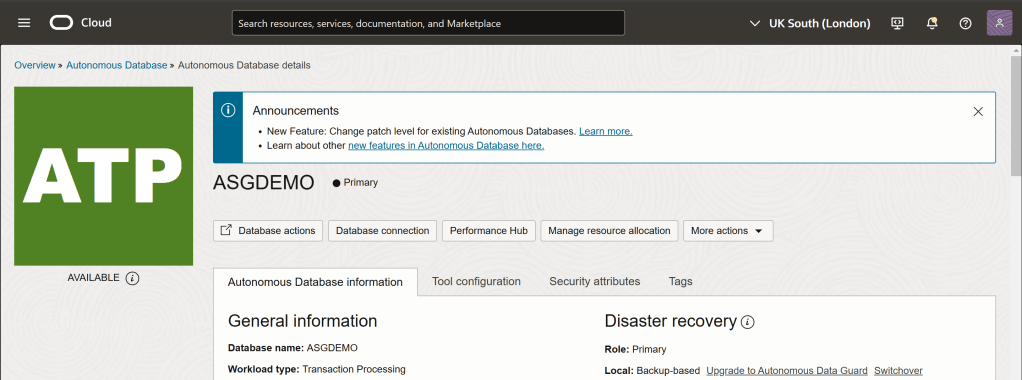
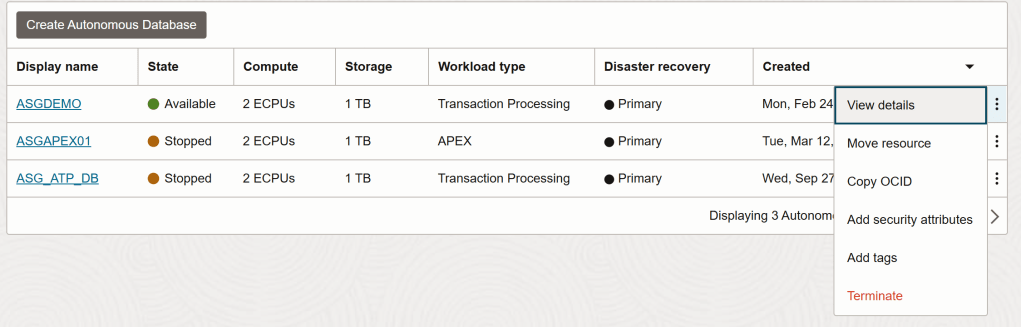
Step 5: Select the “3 dots” icon, and click “View Details”
Step 6: Click “More Actions” and then Click “Update Network Access”

Step 7: Here you can add new IP addresses or CIDR Ranges. You can automatically add your current IP address using “Add my IP address” or add multiple access control lists using the “Add access control rule” button.

Step 8: Click Update!
To read about how to connect and use this database in SQL Developer & SQL*Plus see my post here.

Pingback: Exploring Oracle Integration Cloud: February 2025 - Implementing Oracle Integration Cloud